


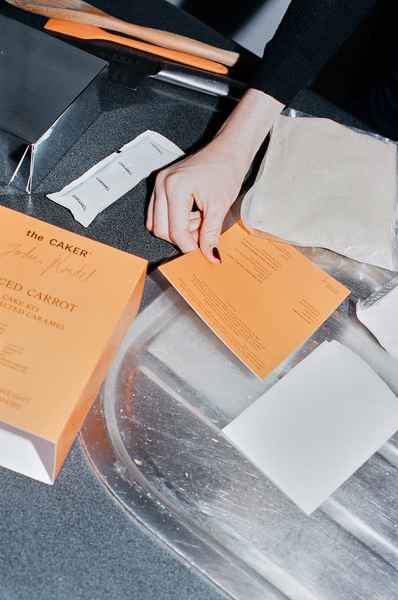
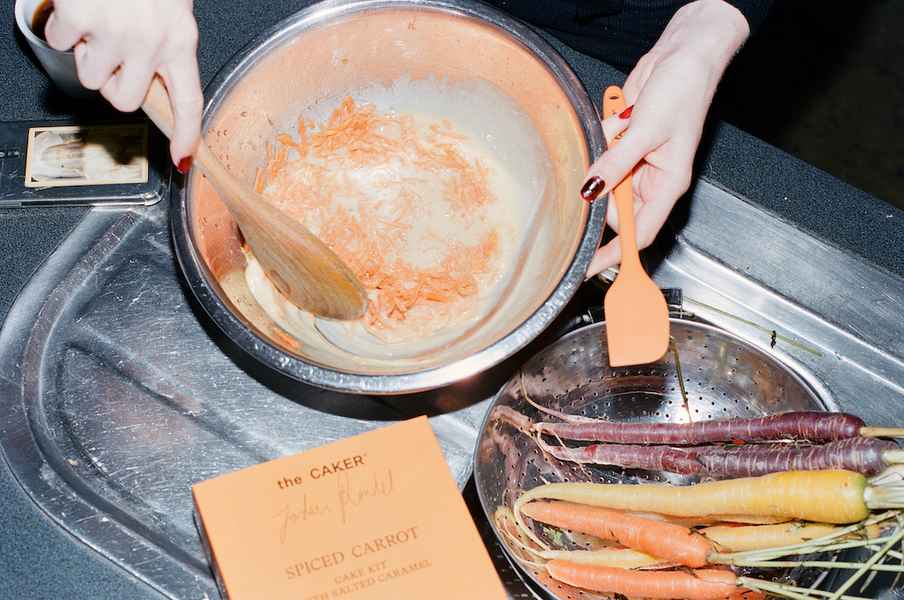
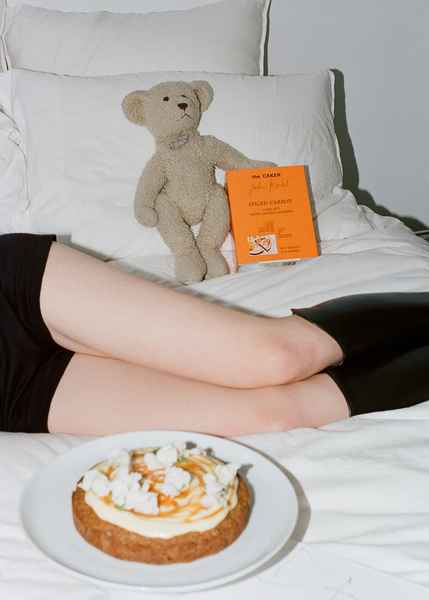
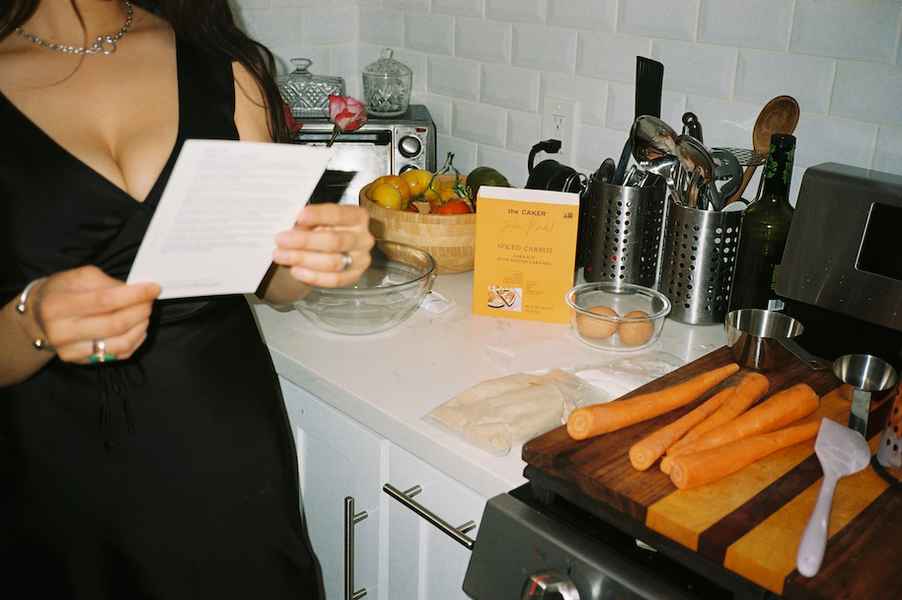
Spiced Carrot Cake Kit
Spiced Carrot Cake Kit
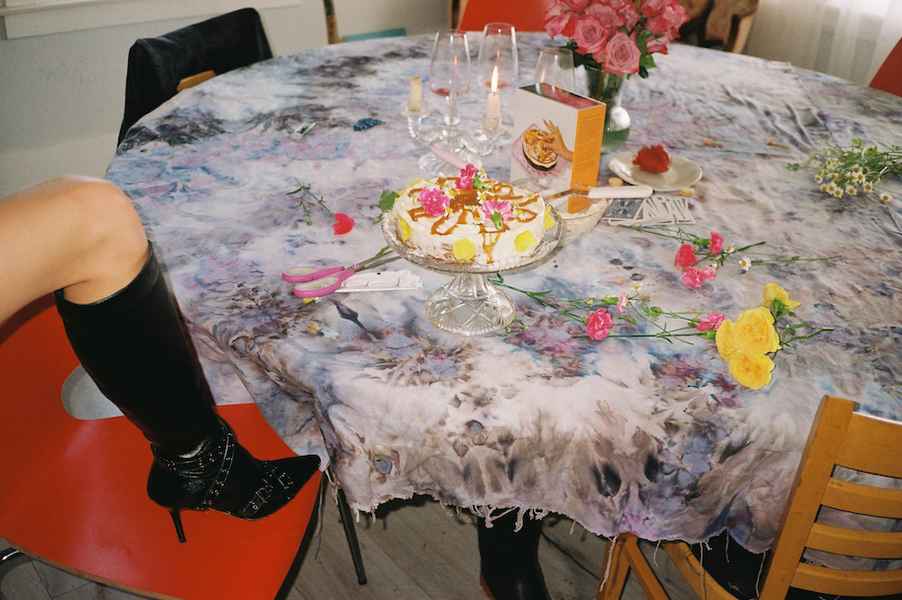
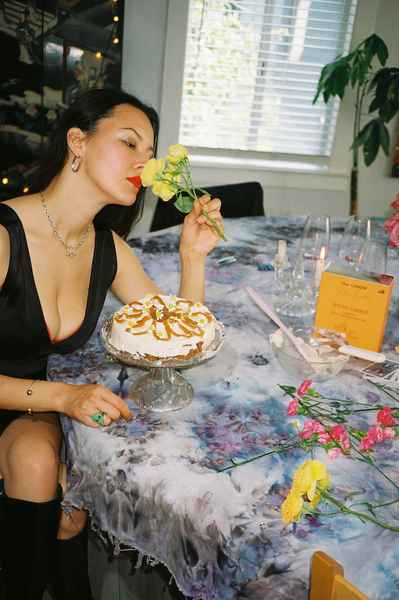
This cake kit makes a sticky carrot cake that is gently spiced with cinnamon, nutmeg and ginger. I chose to put zante currants in this kit recipe because I love the sweet yet tart bursts they add to each bite. Of course, cream cheese icing is an absolute classic with carrot cake and to top everything off, it doesn’t get better than salted caramel!
INCLUDES
- Spiced Cake Mix
- Cream Cheese Icing Mix
- Organic Salted Caramel
- Non Stick Pan Liner
- Instruction Card
·:*¨༺ FREE USA SHIPPING WITH CODE "FREESHIP" ON ORDERS > $50 ༻¨* :·
WHY ARE THE CAKER CAKE KITS SO EXPENSIVE?
The Caker cake kits are like nothing else in the cake mix game, they are a novel innovation of a product that has seen unbelievably little change since it was invented almost 100 years ago… But at 9 times the price of a supermarket cake mix though, how are they better?
1. COMPLETE WITH ICING AND/OR DECORATIONS
They come with every dry ingredient for the cake and icing PLUS the decorations so all you have to add are a few simple fresh ingredients. Your cake will end up actually looking like the picture on the box with very little effort required.
2. STUPIDLY EXPENSIVE INGREDIENTS
I'm not joking when I say that my Espresso Dark Chocolate cake kits contain over US$7 of Intelligentsia freeze-dried Black Cat espresso. Plus ingredients like almond flour and Callebaut 72% cocoa solids chocolate callets, which are expensive because they're the best. My Banana Cinnamon cake kit contains organic coconut sugar because I love the caramel vibe it lends. It's all in the name of taste.
3. LIFE SAVING NON-STICK LINER
Baking a perfect cake and then having it stick to the pan is a reason I hear all the time for why people say they don't like baking. I started pushing oversized baking paper circles into my pans early on in my baking career because I didn't have time to cut out precise strips of baking paper to get those clean edges. The result is rippled, indented edges, which has become a very signature and intentional look!
4. MY PERSONAL RECIPES
I developed my recipes based on the type of desserts I personally love to eat. They're the polar opposite of a sponge cake with themed fondant icing. They're not light in texture, they're dense (for lack of a better word) and often filled with big pieces of fruit! So when you try a Caker kit, you're not only trying something new, you're trying something super personal to me that you could only otherwise try from my bakery in Auckland or Los Angeles. My cake kits aren't watered down versions of my cakes from my bakeries, they are very similar recipes, which was super important to me when designing the line. PS. If you find the texture weird, you’re not alone, but reading THESE COMMENTS from some converts out there might shed some light!
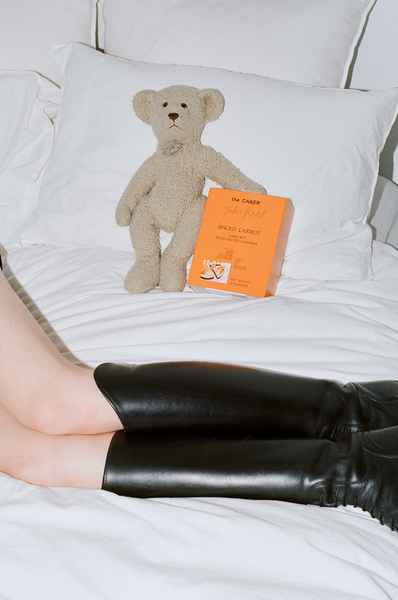
5. GIFT WORTHY PACKAGING
I love shiny things, I love cosmetic packaging, I love when something feels considered... I don't like thin cardboard boxes or non-delicious looking images on food packaging. So I worked with my designers to create a product that is aesthetically good enough to give as a gift. I think one of my best business memories to date is when someone said they had bought a dozen cake kits for Christmas presents and said to me "they're amazing, they're like the new bottle of wine!"
6. OWNER OPERATED SMALL BUSINESS
I think it’s cool to cheer on a family owned business, and in the case of The Caker it is still just my little sister, Anouk, and I running the show! It's not easy growing a business as such a small team, so every customer is a true hero in our eyes. Trying a cake kit means you're supporting two girls whose goal in life is to bring people joy through super moist, fudgey cakes that are bursting with flavor!


Tips & Tricks
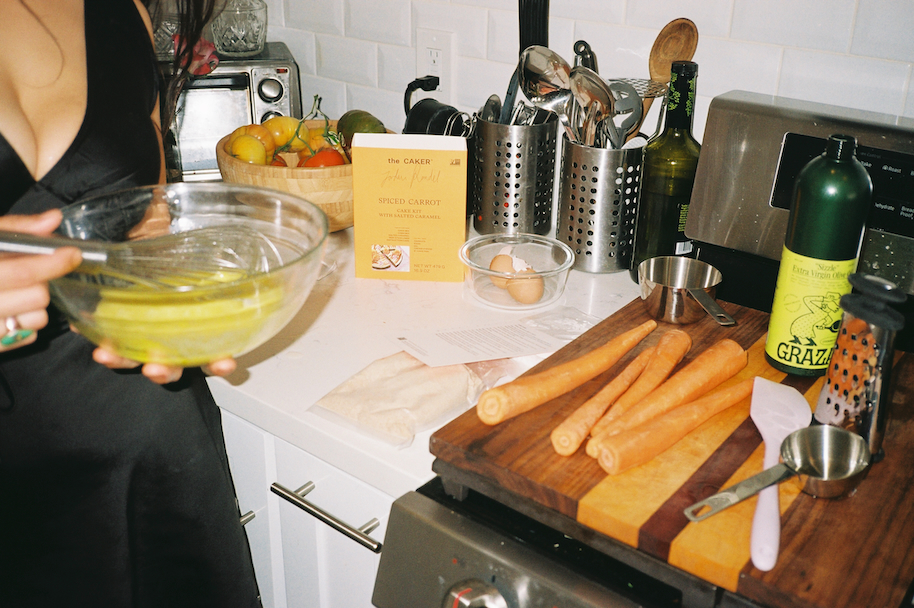
Fresh ingredients you will need
For the cake:
- 2 eggs
- 2/3 cup of oil
- 1 2/3 cups (8.5oz) grated carrots
For the icing:
- 8oz cream cheese (1 block)
Directions
- Preheat the oven to 350°F.
- Press the non-stick liner into an 8 or 9” cake pan (the liner is intentionally oversized so you will end up with The Caker’s signature ripples in the sides of your cake).
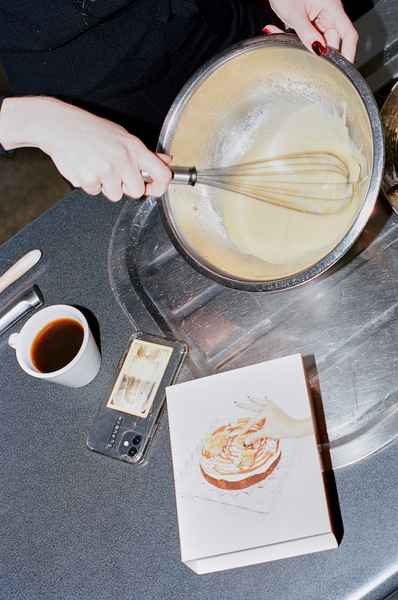
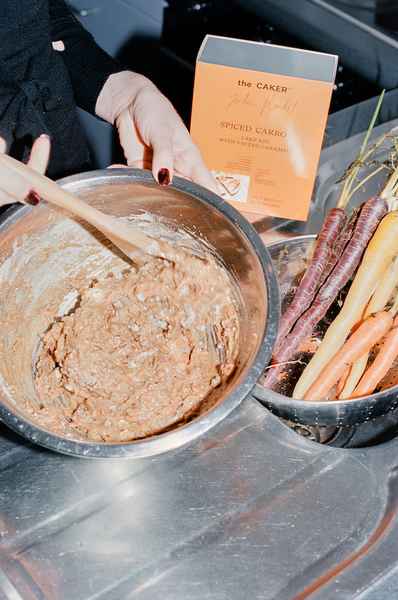
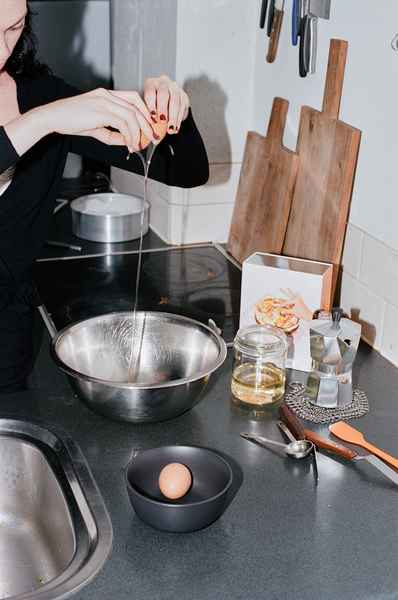
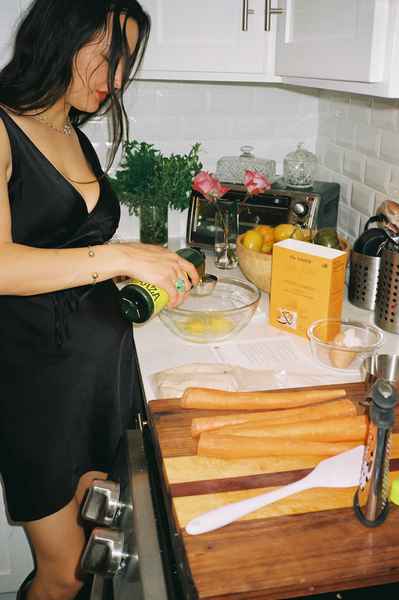
- In a large bowl, whisk together 2 eggs, 2/3 cup of oil and 1 2/3 cups grated carrot until well incorporated.
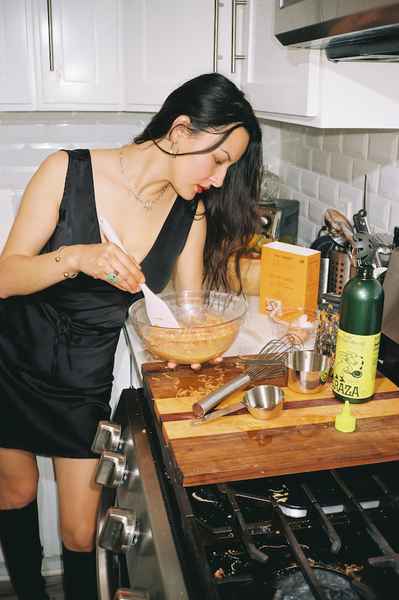
- In two parts, fold the Spiced Cake Mix into the carrot mixture using a silicone spatula. Don’t overmix!
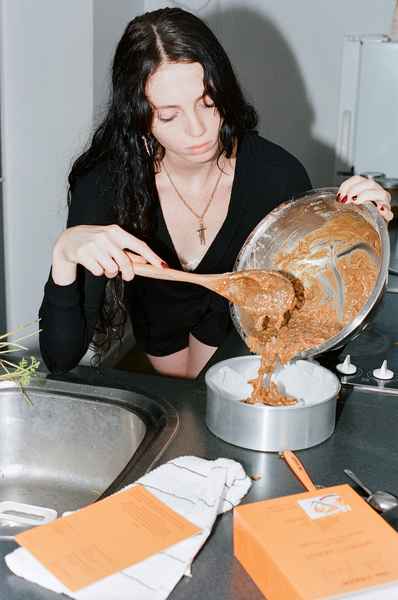
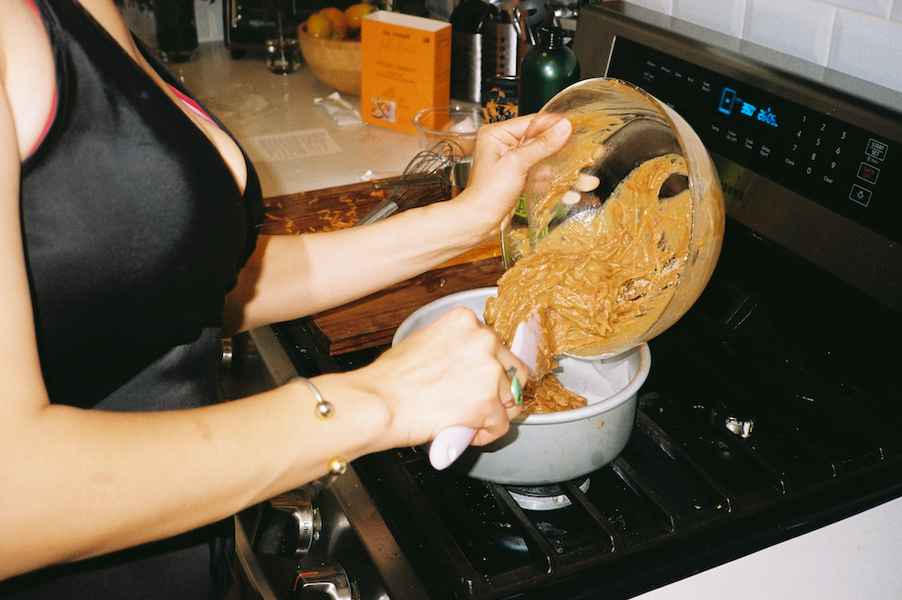
- Pour the batter into the prepared cake pan and spread it out to the sides.
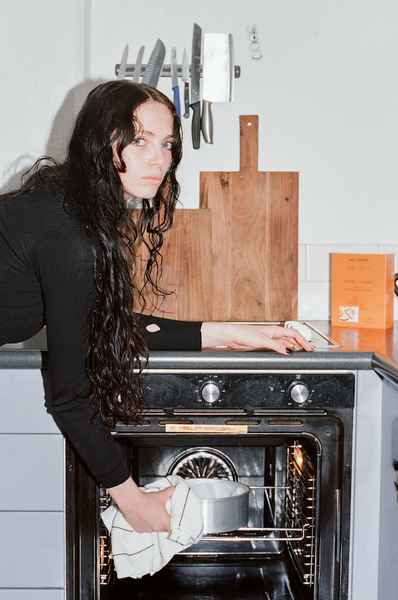
- Bake the cake for around 30–40 minutes. Every oven is different, so keep an eye on the cake as it bakes, it will be ready when it is springy to the touch and a knife comes out clean when inserted into the center.
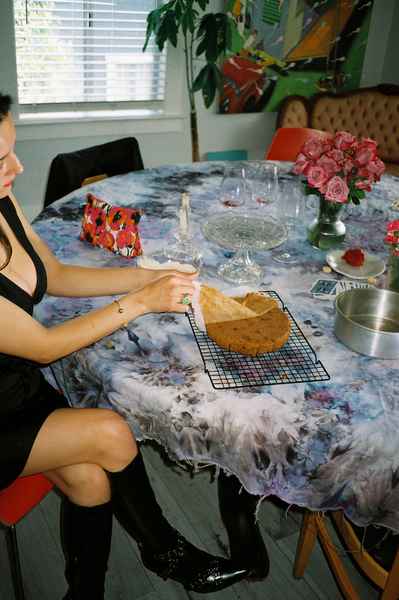
- Once baked, allow the cake to sit for 10 minutes in its pan, then turn it out onto a cooling rack and leave to cool in the fridge.
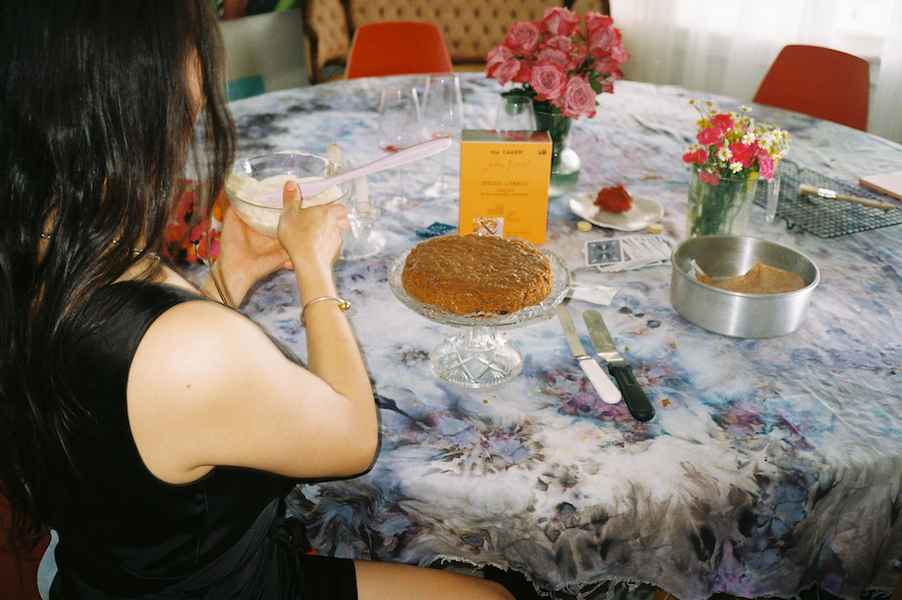
- Using an electric mixer, beat together the Icing Mix with 8oz of cream cheese on high speed until smooth.
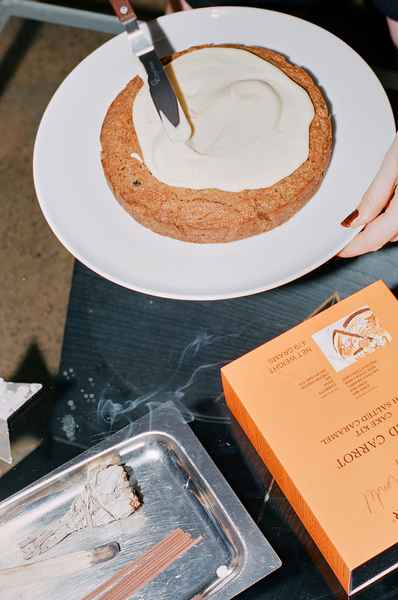
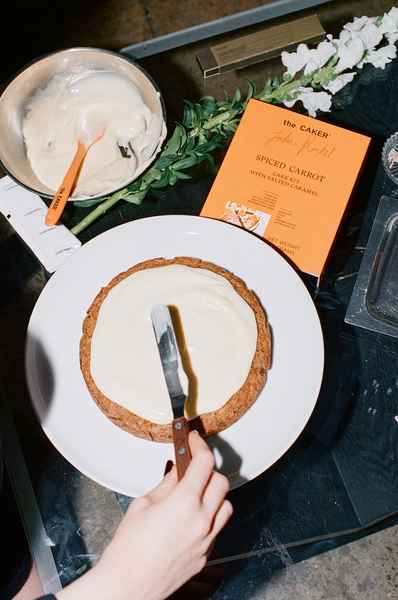
- Once the cake is completely cool, place it onto a serving plate and spread the cream cheese icing onto it.
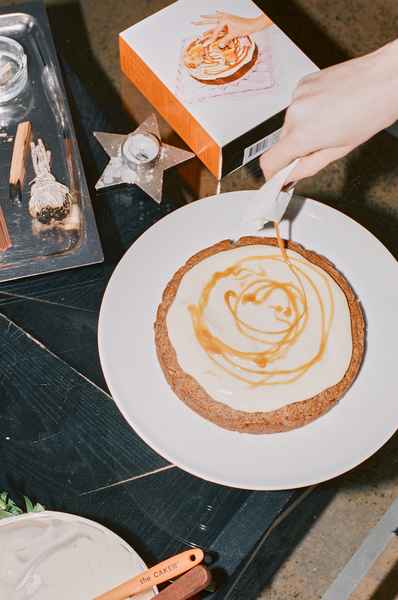
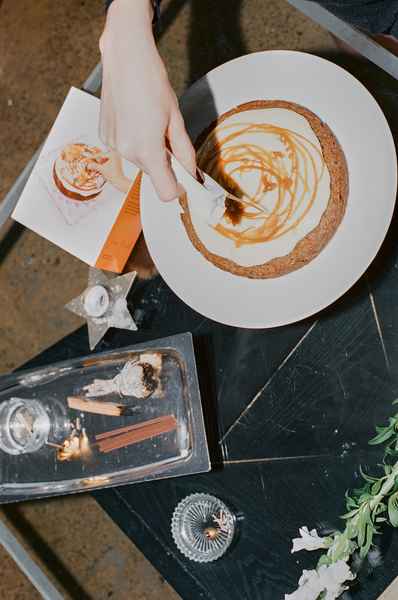
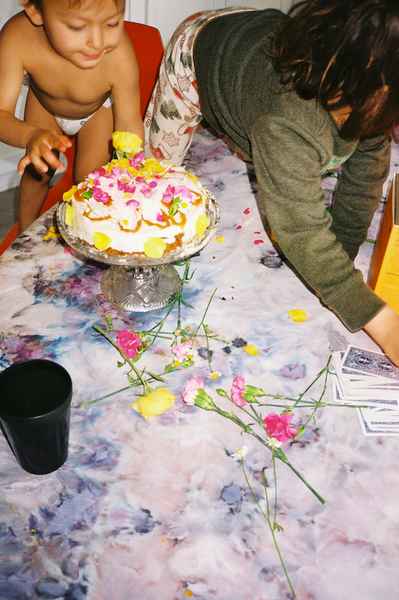
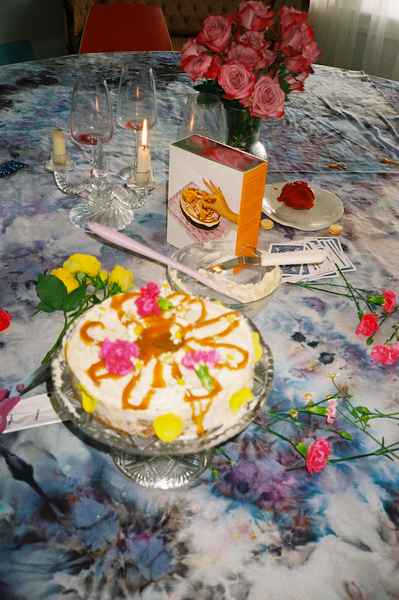
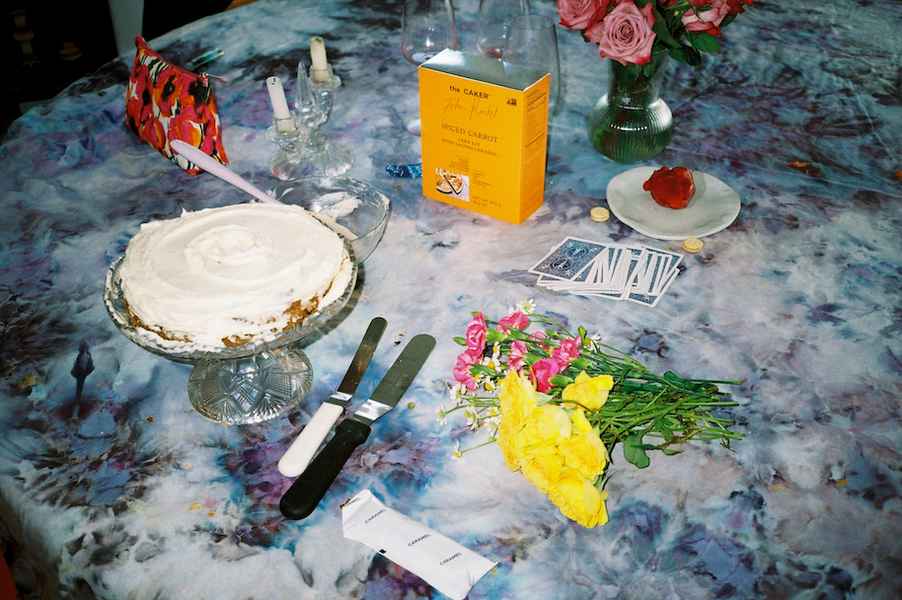
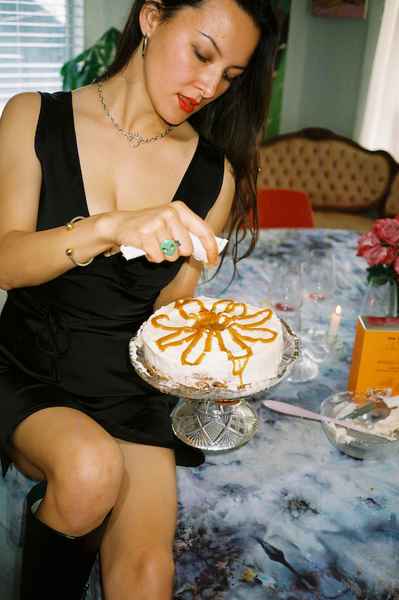
- To decorate, cut one corner off the Salted Caramel and drizzle over the icing. Top with fresh edible flowers if desired!
- Serve at room temperature. To store, refrigerate in an airtight container for up to 3 days.
TOP TIPS TO REMEMBER
This cake is super easy to make, the main things to remember when making it are:
- preheat your oven!
- don't overmix the batter once you've added the dry ingredients
- make sure your cake is completely cool before icing it
WHAT IS THE BEST SIZE PAN TO USE?
Using an 8” pan is really important, otherwise your cake might be too tall and be difficult to cook through, or too flat and resemble a pancake. I’ve sourced a cake pan, which is the perfect dimensions and thickness to ensure your cake bakes perfectly so be sure to add it to your cart before you check out.
CAN I ADD NUTS?
Yes! Adding a generous handful of chopped walnuts or any other nuts you like is a great idea.
WHAT ELSE COULD I ADD?
Pineapple goes really well with this cake! You can add pineapple chunks to the batter and / or freeze-dried pineapple as decorations - both are amazing.
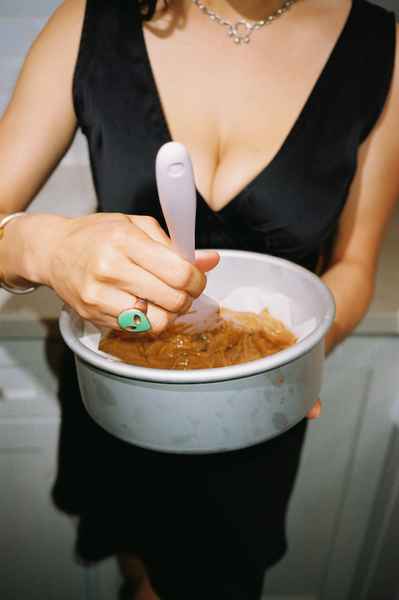
WHAT SHOULD MY BATTER LOOK LIKE?
Your batter should be thick as opposed to runny.
WHAT ADJUSTMENTS DO I NEED TO MAKE IF BAKING AT HIGH ALTITUDE?
Because the rate of evaporation is faster at high altitude, cakes often require more liquid and longer bake times so you should favor an overpour instead of an underpour of all liquid ingredients and don't be alarmed if your cake takes longer than the prescribed bake time. Also, the lighter air at high altitude allows cake batter to expand more and faster, often making it necessary to increase the oven temperature by 25° and to use a larger baking pan if you have one.
HOW DO I KNOW WHEN IT'S BAKED?
Your cake is ready when a sharp knife or skewer inserted into the center comes out clean. The reason I recommend checking cakes regularly after the halfway point is that you want to catch the cake at the moment it is baked to perfection, especially considering a cake will continue to cook for a few minutes after it has been removed from the oven. Your cake should rise slightly and have a flat, matte surface.
WHAT TEXTURE SHOULD MY BAKED CAKE BE?
Your cake should be tender, dense and bordering on brownie-like. My cakes all have a sumptuous, close-crumb texture due to the high amount of ground almonds in the recipe!
CAN I MAKE CUPCAKES?
You can also make about 8 minicakes or about 30 babycakes with this kit. If doing this, reduce the bake time to 20-25 minutes depending on size.
-
Prepare your cake batter according to the recipe card provided.
-
Line a mini or babycake tray with enough cupcake papers for either size (babycakes are around 3.5cm diameter on their base, minicakes are around 6cm in diameter).
-
Fill each cupcake paper with your cake batter using a teaspoon. For babycakes make sure each paper is filled about 1-2mm below the top line, for minicakes, fill the papers about ⅔ full.
-
Bake for around 20-30 minutes, or until a skewer comes out clean. Every oven is different, so you may need to bake your babycakes for a shorter or longer time - keep an eye on them as they bake!
-
Allow your cupcakes to cool for 10 minutes in their tray, then take each out to cool on a cooling rack.
-
Leave to cool completely before icing.
Other Cake Kits
These are not your typical cake mixes!
I chose some of my favorite recipes to turn into cake kits, and put all of the same quality ingredients I use on a daily basis inside of them, so you can bake like I do in the comfort of your own home.
They suit proficient and novice bakers alike, require basic equipment and come complete with decorations and a non-stick baking pan liner. Some are gluten free, and some are vegan.
Upon making one, your house will fill with the unmistakably comforting aroma of a cake turning golden in the oven. And move over generic bottle of wine - these kits in their avant-garde packaging make a way cooler gift.
Enjoy!
x Jordan


